
Understanding Mold Remediation Techniques for Insulation and Gypsum Board
Mold remediation techniques tailored to insulation and gypsum board are essential in the UAE, especially given the region’s high humidity levels. Understanding these methods ensures that mold is effectively removed while preventing regrowth. This relates directly to Mold Remediation Techniques For Insulation And Gypsum Board.
The Importance of Mold Remediation for Insulation and Gypsum Board
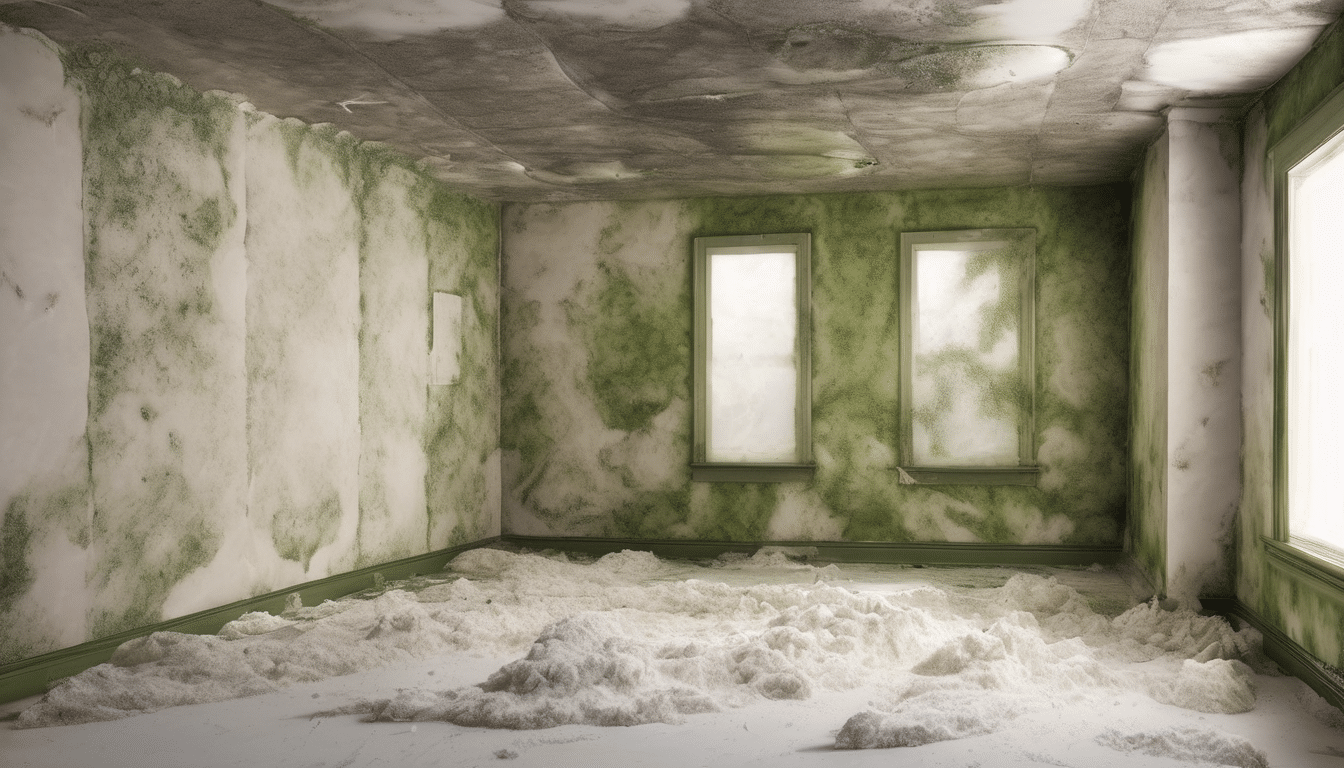
Mold can grow in hidden areas such as behind walls, under gypsum board, or within insulation. This growth not only poses a health risk but also degrades the structural integrity of your building.
Mold Remediation Techniques For Insulation And Gypsum Board
Identifying Hidden Mold in Insulation and Gypsum Board
Hidden mold is often detected through visual inspection, moisture mapping, or air sampling. Here’s how to identify these issues:
- Visual Inspection: Look for discoloration, musty odors, or signs of water damage.
- Moisture Mapping: Use thermal imaging and moisture meters to locate damp areas where mold may be hidden.
- Air Sampling: Collect air samples using spore traps to determine the presence of mold spores in the environment.
Using Thermal Imaging for Hidden Mold Detection
Thermal imaging can reveal hot and cold spots that indicate moisture buildup, often a precursor to hidden mold growth. This non-invasive method helps pinpoint areas requiring further investigation.
Preparation for Mold Remediation in Insulation and Gypsum Board
Proper preparation is crucial before starting the remediation process. Follow these steps to ensure a thorough cleanup:
- Containment Setup: Establish negative pressure using HEPA-filtered exhaust fans to prevent mold spores from spreading.
- Personal Protective Equipment (PPE): Wear appropriate gear, including respirators, gloves, and protective clothing.
- Material Removal: Plan the removal of contaminated materials, ensuring they are properly sealed to prevent cross-contamination.
Negative Pressure and Ventilation
Negative pressure is essential during remediation. It involves using HEPA filtration systems to maintain a clean air environment within the containment area, ensuring that mold spores are not released into the living space.
Step-by-Step Guide to Removing Mold from Insulation and Gypsum Board
Follow these detailed steps for effective mold removal:
- Surface Cleaning: Use a solution of water and detergent, then rinse thoroughly. Ensure all visible mold is removed.
- Deep Cleaning: Apply an appropriate biocide to kill any residual spores. Follow the manufacturer’s instructions carefully.
- Thorough Drying: Dry all surfaces completely using dehumidifiers or fans. Ensure no moisture remains to prevent regrowth.
Mold Removal in Insulation
In the case of insulation, it’s often necessary to replace contaminated materials. Seal off the area before removing the insulation and dispose of it properly to avoid cross-contamination.
Contaminated Material Disposal Procedures for Insulation and Gypsum Board
Proper disposal is critical to prevent further contamination:
- Sealing Contaminated Materials: Place all removed materials in sealed bags or containers.
- Disposal at Approved Sites: Contact local authorities for guidance on where to dispose of mold-contaminated materials safely and legally.
Safe Disposal of Contaminated Materials
Avoid disposing of contaminated materials in regular trash. They must be handled according to local regulations, often requiring special disposal methods or facilities.
Post-Remediation Maintenance Tips for Preventing Future Mold Growth
Prevent future mold growth by addressing the underlying issues that led to contamination:
- Moisture Control: Install dehumidifiers or ventilation systems as needed.
- Airflow Optimization: Ensure proper airflow and ventilation in areas prone to moisture buildup, such as bathrooms and kitchens.
- Regular Inspections: Schedule regular inspections to check for signs of water damage or mold growth.
Monitoring and Maintenance
Regular monitoring can help catch any issues early. Use moisture meters, humidity monitors, and visual inspection tools to keep an eye on potential problems.
Expert Tips for Effective Mold Remediation in Insulation and Gypsum Board
Here are some expert tips for successful mold remediation:
- Scientific Testing: Use laboratory testing to identify the specific types of mold present, ensuring targeted remediation.
- Data-Driven Decisions: Base your decisions on data from air sampling and moisture mapping rather than assumptions.
- Sustainable Solutions: Choose biocides that are effective but also environmentally friendly to minimize long-term impacts.
Using Laboratory Testing for Mold Identification
Laboratory testing can provide detailed information about the species of mold present, guiding your remediation strategy and ensuring complete removal.
Frequently Asked Questions About Mold Remediation in Insulation and Gypsum Board
Here are answers to common questions about mold remediation:
Q: Can I DIY mold remediation for insulation and gypsum board?
A: While it’s possible, professional expertise is recommended due to the complexity of these materials.
Q&A Section
Professional guidance ensures thorough cleaning and safe handling of contaminated materials. DIY approaches may not address all issues effectively.
Q: How long does mold remediation take for insulation and gypsum board?
A: The timeline varies based on the extent of contamination, but professional processes typically range from a few days to several weeks.
Conclusion on Mold Remediation Techniques for Insulation and Gypsum Board
Effective mold remediation in insulation and gypsum board requires a systematic approach, from initial identification to post-remediation maintenance. By following these steps, you can protect your home’s health and structural integrity. Understanding Mold Remediation Techniques For Insulation And Gypsum Board is key to success in this area.