
—
TITLE—
How to fix water damage and mold in an RV? Guide for 9 Critical Steps
META—
Fixing water damage and mold in an RV can be a daunting task, but with the right approach, you can ensure your vehicle stays healthy and safe. This guide will walk you through the essential steps. This relates directly to Fix Water Damage And Mold In An Rv.
EXCERPT—
Water damage and mold are common issues in recreational vehicles (RVs). This comprehensive guide provides actionable steps to address these problems effectively, ensuring your RV remains a comfortable and safe space for years to come.
—
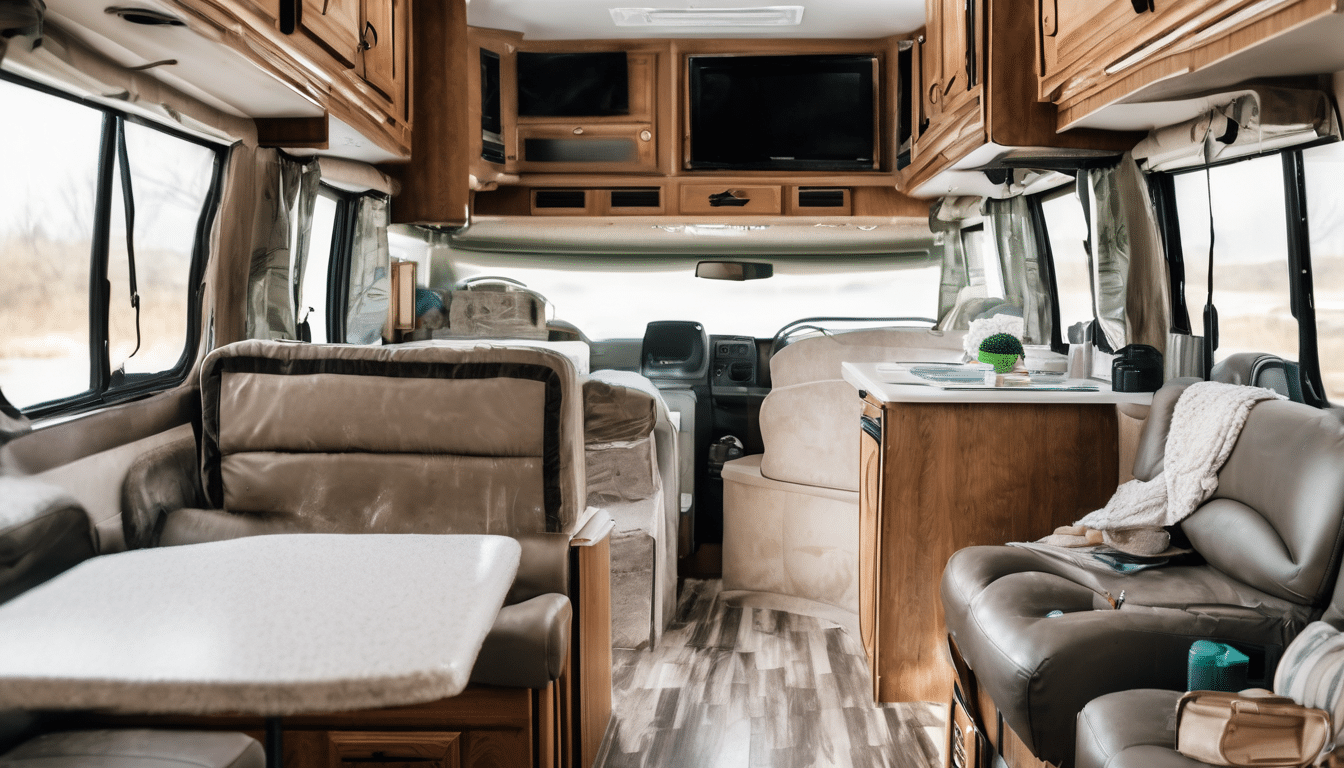
Understanding How to fix water damage and mold in an RV?
Water damage from a leaking roof or other sources can lead to mold growth, which poses health risks. Mold thrives in damp environments, making RVs prime targets for this issue. Understanding the moisture dynamics behind these leaks is crucial before attempting any repairs.
Why Mold Forms
Mold requires three things: moisture, a food source (such as wood or drywall), and favorable temperatures. In an RV, high humidity levels combined with poor ventilation can create ideal conditions for mold growth. Identifying the source of water damage is essential to preventing future occurrences.
Fix Water Damage And Mold In An Rv: Materials Required for Repairing an RV
Before you begin any repairs or mold remediation in your RV, gather the necessary materials:
- Roof patch kit (including primer and sealant)
- Paint scraper and sandpaper
- Gutter cleaning kit
- Spray bottle filled with water
- Cleaning solution (such as a mixture of bleach and water, or a commercial mold cleaner)
- Protective gloves and goggles
- Vacuum cleaner with HEPA filter
- Sealant for new patches
Steps to Fix Water Damage and Mold in an RV
1. Assess the Damage
Examine the interior of your RV for signs of water damage, such as discoloration or musty odors. Look for moisture on walls, ceilings, and floors.
2. Remove Contaminated Materials
Use a paint scraper to remove damaged drywall, insulation, or other materials affected by mold. Dispose of these materials properly to avoid spreading spores.
3.
Clean the Affected Area
Mix a cleaning solution (1 part bleach to 4 parts water) and apply it with a spray bottle. Let it sit for at least 20 minutes, then scrub the area thoroughly with a brush or rag. Rinse with clean water.
4. Ventilate Thoroughly
Open windows and use fans to circulate air and reduce humidity levels. This helps prevent mold regrowth during the repair process.
5.
Apply Mold-Resistant Primer
Apply a mold-resistant primer over any areas where you plan to patch or repaint. This step is crucial for preventing future mold growth. When considering Fix Water Damage And Mold In An Rv, this becomes clear.
6. Patch the Roof
Use a roof patch kit to repair any leaks in your RV’s roof. Follow the manufacturer’s instructions, applying primer and sealant as needed. Allow adequate drying time before exposing the area to water.
7.
Replace Damaged Insulation
If insulation is damaged or moldy, replace it with new, moisture-resistant material. This step ensures that any future leaks will not affect your living space.
8. Seal New Patches
Apply a sealant over the newly patched areas to ensure they are watertight and resistant to future damage. Allow drying time as specified by the manufacturer.
9.
Inspect for Mold Regrowth
After completing all repairs, inspect the RV thoroughly for any signs of mold regrowth. Keep an eye on moisture levels and address any new issues promptly.
Preventing Future Problems: Maintenance Tips for Your RV
1. Regular Inspections
Perform regular inspections to identify and address potential water damage early. Check the roof, gutters, and seals around windows and doors during these inspections.
2.
Proper Ventilation
Ensure your RV has adequate ventilation, especially in areas prone to moisture buildup such as bathrooms and kitchens. Use exhaust fans or open a window when cooking or showering.
3. Seal Gaps
Seal any gaps around windows, doors, or other openings with weatherstripping to prevent drafts that can cause condensation.
4.
Proper Storage
When not in use, store your RV in a dry, sheltered area. Cover it with a breathable tarp to protect against rain and snow while allowing air circulation.
5. Use Dehumidifiers
In humid climates or during heavy rains, consider using dehumidifiers inside your RV to maintain low humidity levels.
Expert Tips for RV Owners
1. Use a Professional Mold Inspector
For complex cases, consult with an indoor environmental expert who can provide a thorough assessment and guidance on mold remediation. The importance of Fix Water Damage And Mold In An Rv is evident here.
2. Follow Manufacturer’s Instructions
Always follow the manufacturer’s instructions when applying sealants or other materials to ensure proper adhesion and effectiveness.
3. Implement Long-Term Moisture Control
Address underlying moisture issues by improving ventilation, addressing leaks, and using dehumidifiers as needed.
4. Regular Maintenance
Schedule regular maintenance checks with a professional mechanic to identify and fix any potential water damage before it becomes severe.
FAQs About Fixing Water Damage and Mold in RVs
1. Can I use a DIY kit for mold remediation?
While some DIY kits can be effective, professional-grade products are often necessary to ensure thorough cleaning and prevent regrowth.
2. **Is it safe to live in an RV with water damage?
Living in an environment with active mold growth is not advisable due to potential health risks. Address the issue promptly to avoid further contamination.
3. How can I check for hidden mold during inspections?
Use thermal imaging cameras or borescopes to detect moisture behind walls, under floors, and within HVAC systems where visible mold may be present.
4. **What are some common signs of mold in an RV?
Look for discoloration, musty odors, and water damage indicators such as peeling paint or stained surfaces. Mold can also grow on fabrics and upholstery if moisture is present.
5. How often should I perform inspections to prevent mold growth?
Conduct thorough inspections at least once a year, especially after heavy rains or significant weather events that may cause leaks.
Conclusion
Fixing water damage and mold in an RV requires attention to detail and the right approach. By understanding the root causes of these issues and taking proactive steps, you can ensure your recreational vehicle remains a healthy and comfortable space for years to come. Regular maintenance and professional inspections are key to preventing future problems.
—
TAGS—
RV maintenance, water damage repair, mold remediation, indoor environmental health
ALT_TEXT—
How to fix water damage and mold in an RV? – Comprehensive guide with step-by-step instructions on repairing leaks and cleaning mold.