
Understanding How to Install Proper Ventilation for RV Roof Leaks
Proper ventilation is a crucial step in preventing water pooling and mold growth in recreational vehicles (RVs) affected by roof leaks. In this guide, we will walk you through the essential steps to install effective ventilation systems that can help keep your RV dry and safe from moisture-related issues.
The Importance of Ventilation
When an RV experiences a roof leak, water intrusion can lead to significant damage. The affected areas may become damp or completely soaked, leading to the growth of mold and mildew. Ventilation helps to reduce moisture levels by facilitating air flow and promoting evaporation, thereby preventing these issues.
Install Proper Ventilation For Rv Roof Leaks: Materials Required for Ventilation
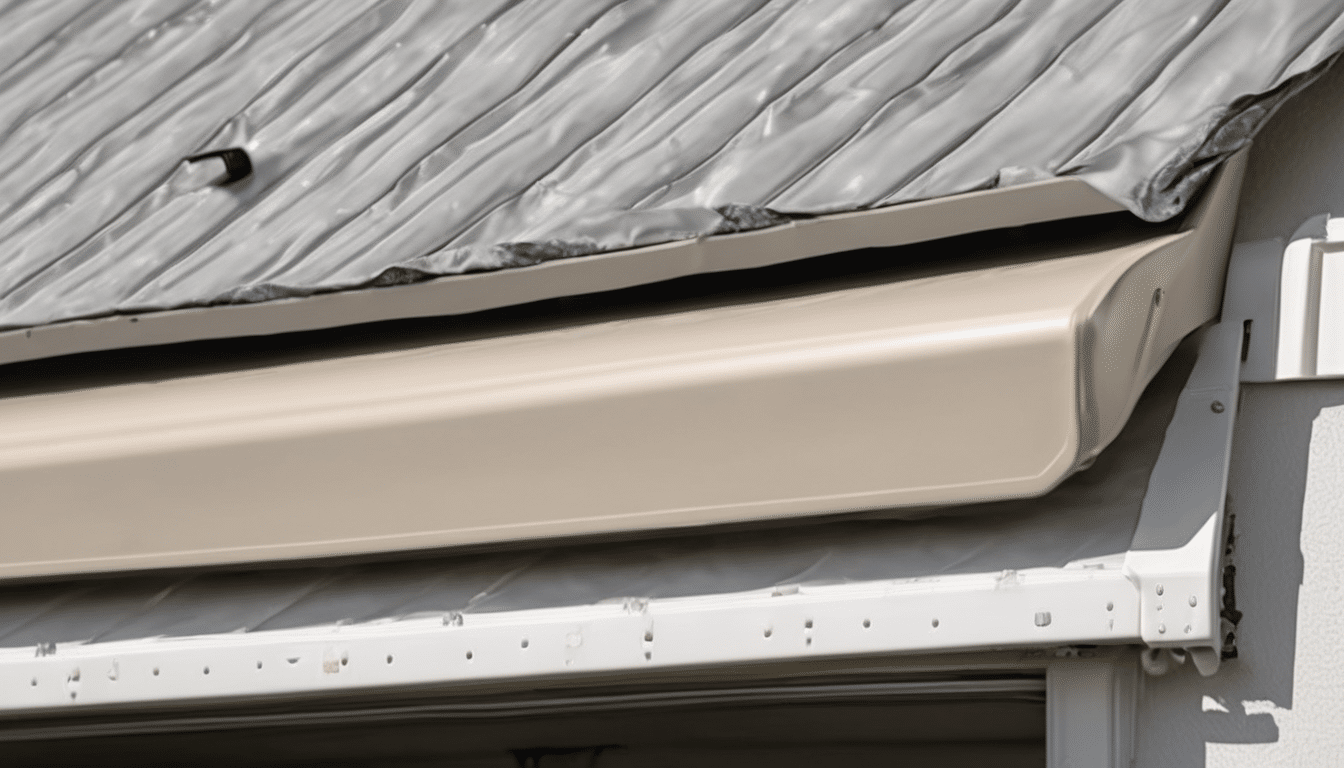
To install proper ventilation, you will need several materials:
- Insulation material (e.g., fiberglass batts)
- Ventilation ducts or vents
- Airtight sealants and tape
- Tools such as a hammer, screwdriver, saw, and measuring tape
- Weatherproofing materials (e.g., silicone caulk)
Install Proper Ventilation For Rv Roof Leaks: Step-by-Step Installation Guide
- Assess the Damage: Inspect the roof and interior of your RV for signs of water damage or mold growth. Identify areas where moisture may be pooling.
- Prepare the Space: Clean the area to remove any debris, old insulation, or damaged materials. Ensure that the surface is smooth and free from loose particles.
- Install Ducts or Vents: Determine the best placement for your ventilation ducts or vents. Typically, they should be placed near the highest points of the RV to allow air to rise and escape. Secure them with screws or brackets.
- Seal Gaps: Use airtight sealants and tape to ensure that there are no gaps around the ducts or vents. This will help maintain proper airflow and prevent drafts.
- Install Insulation: Place insulation material between the roof and ceiling to provide an additional barrier against moisture. This step is especially important in areas prone to leaks.
- Weatherproof the Roof: Apply weatherproofing materials, such as silicone caulk, around any penetrations or seams on the roof. This will help prevent water from seeping through and causing further damage.
Common Mistakes to Avoid
To ensure a successful installation of proper ventilation:
- Avoid placing vents too low, as this can lead to poor airflow and moisture buildup.
- Do not skip the insulation step; it is crucial for preventing heat transfer and condensation.
- Avoid using cheap or inappropriate materials that may deteriorate over time.
Maintenance Tips for Ventilation
Proper maintenance of your ventilation system will help extend its lifespan and ensure continued effectiveness. Here are some tips:
- Regularly check for signs of damage or wear on ducts, vents, and insulation.
- Replace any worn-out or damaged components promptly.
- Dust and clean the ventilation system to prevent blockages that can reduce airflow.
Related Topics: How to Prevent Moisture Buildup in RV Walls, Choosing the Right Antimicrobial Coatings for RV Interiors, Step-by-Step Guide to Cleaning Hidden Mold Growth in RVs
While installing proper ventilation is essential, it’s also important to address moisture buildup and mold growth comprehensively. Here are some related topics that can help you protect your RV from these issues: Understanding Install Proper Ventilation For Rv Roof Leaks is key to success in this area.